DIY Decoden Case Tutorial // Eyelash Type
It’s time for my first DIY Decoden Tutorial / Guidance! ヽ(*⌒∇⌒*)ノ A lot of people requested that since you easily find pictures of decoden stuff but barely any tutorial which is not in Japanese. Decoden is one of the very few hobbys I do in my spare time between university and work and is one of the very few things that make my heart bounce! I am always extremely excited when I start a new decoden project! ^_^ I did everything via trial and error when I first started, I could barely read any Japanese back then. I like how decoden is a huge eyecatcher, I usually get a lot of compliments (+ weird looks of course) for my mobile phone or my iPod. It’s a nice icebreaker too for conversation 😀 And it’s very easy when you have access to the few things which you’ll need. For this tutorial, I used:
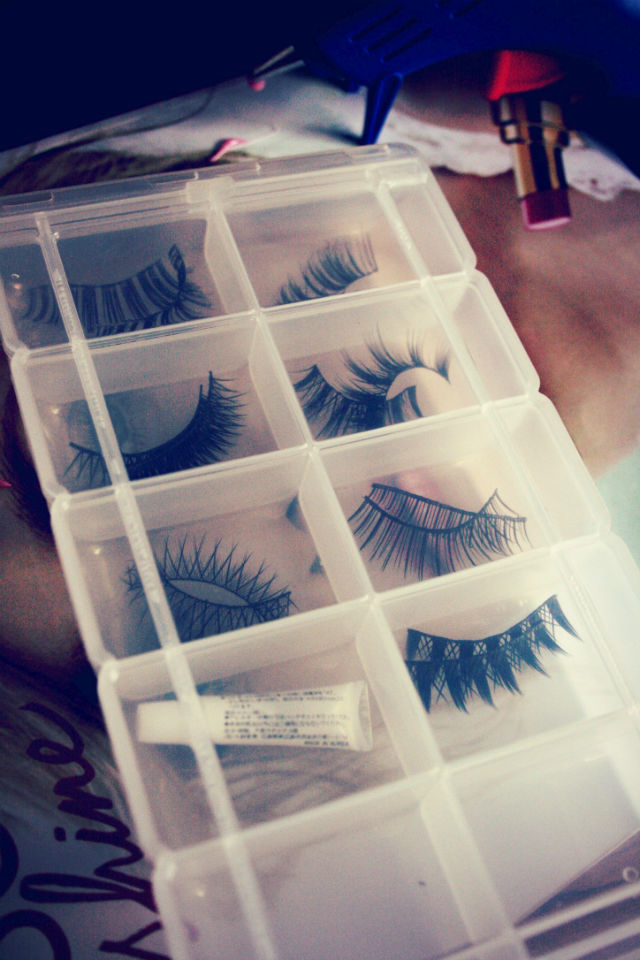
- 1 2×5 container case from The Daiso (105 Yen)
- 1 Whipped Cream from Whippie, a Japanese child toy company (500 Yen)
- 1 Gluegun from The Daiso (315 Yen) and pink gluesticks (from Sophie & Toffee)
- Various rhinestones in champagne and grey
- Various charms (some S & T, some Daiso, some random collected or modified by myself)
- 2 Dessert Sauces from Decollage in Chocolate & Strawberry (210 Yen each)
I linked you some of the products via Rakuten.co.jp so you can see what I used by clicking on the names!
In case you can’t find whipped cream: You can also use just normal silicone (the stuff which is used in bath rooms etc), usually for $3 in every craft store. This thing smells like hell (no kidding. This is torture.) the first three days but the effect is quite the same and you’ll save a lot of money! I recommend this especially if it’s your first try of decoden. The whipped cream from the Japanese brand Decollage is best but costs around $17. I only use this when I make cases for my mobile phone or iPod since it needs to be extremely resistant because I carry my stuff around all the time! You won’t need it unless you are making something that you want to carry around all the time. (Because the normal silicone is a bit weaker and the pieces are more likely to fall off eventually.)
In case you can’t find dessert sauce: If you can’t get your hands on dessert sauce like me, no problem! Just use any normal glue and mix it with acrylic paint! It’s important to use acrylic paint since other colors won’t mix well with the glue. Just mix it together until you have your desired color and use this instead. You have to be a bit quicker though and need to apply the glue before it starts drying. If you don’t know how to do, there are several videos on Youtube for further advice.
After clearing that out, LET’S START!! 😀
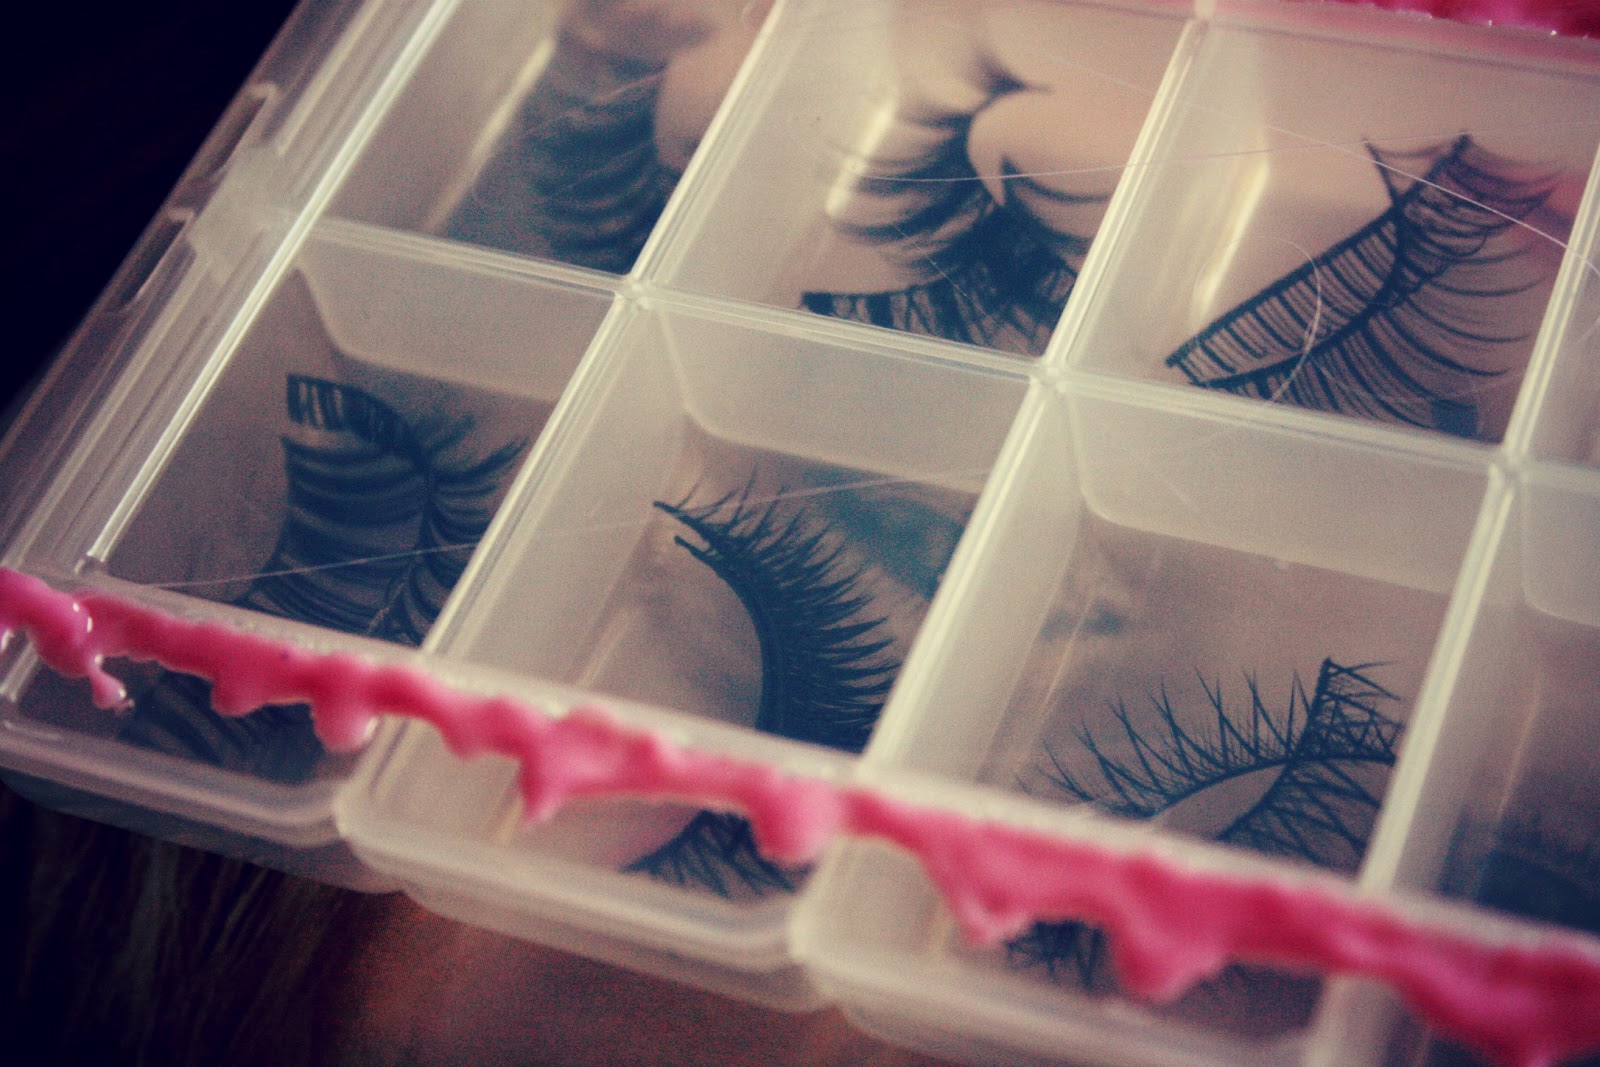
Step #1 I will start using the gluegun on the edge of the case to make it look like sauce dripping from the side. This is only my second attempt with the gluegun (failed so hard the first time, lol!) so please don’t judge u_u” I know it’s a bit tricky to make it look smooth like sauce but it should be fine after trying a bit on a piece of paper or, in my case, an old magazine.
I just start in one corner and then make my way onwards. It is very hard to make line from start to the end so I stopped at every container to smoothen out harsh edges. The glue dries incredible fast so you won’t have much time to erase failures after! That’s the main reason you should stop every once in a while to fill in gaps etc. Depending on how skilled you are, it should look something like this or a lot better xD
Please read on for the full tutorial 🙂

Step #2 This is the most fun part! 😀 After letting the glue dry for about 5 minutes to get hard we will fill in the huge empty space in the middle with whipped cream. You can of course also use just charms and rhinestones but keep in mind it will take hours to do so <: It did this with a smaller lash case though.
You have to massage the whipped cream a bit so that it gets a bit warm and more smooth, I recommend that step no matter which cream you are using. There are also some creams who cannot be used before doing so. Take your prepared cream and make your way down. I first went over the glued part (parallel to the glue) to cover up spaces and everything that didn’t look so well. I created little waves by going forward, stopping, going a tiny bit backwards (over the part where already the cream was placed) and going on forward again. Bit tricky to explain but Im pretty sure you can imagine how to do it when looking at the picture 🙂 I then filled in the middle part by making big S-curves. It depends on the size and what thing I wanna do on how I use my whipped cream <:
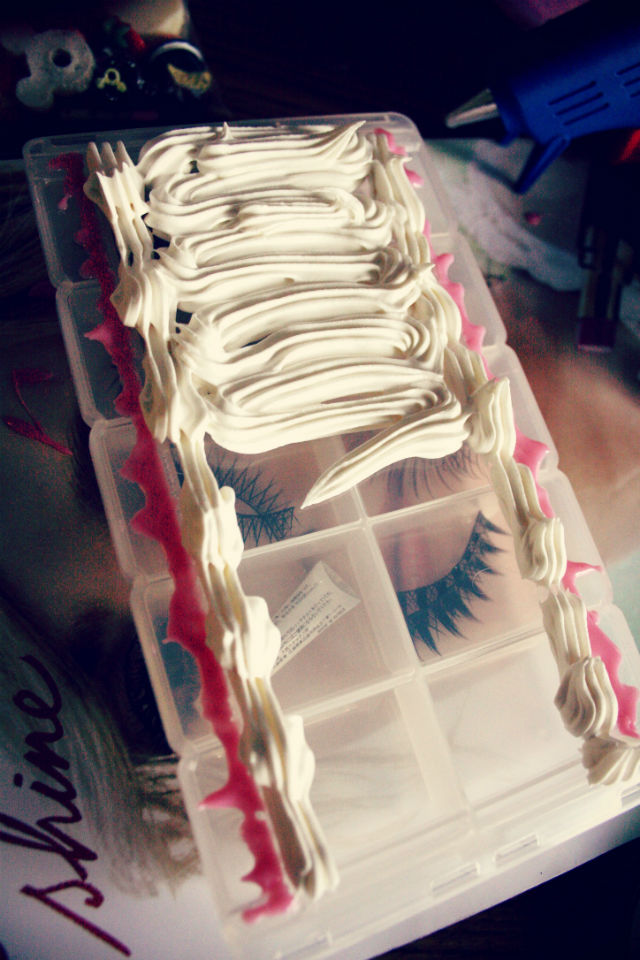
Note: I only did half of the case since it was my first time using this whipped cream and the time for drying varies depending on what material you use. Mostly they “dry” in about an hour; meaning that you can’t really put anything inside anymore after one hour passed (becomes a bit like pudding consistency.) then it completely dries within a day or two. I had creams who dried within half an hour, making it hard to apply everything I want to and ones who didn’t dry a whole day. If you wanna be sure check a day before and see how long it takes to dry! It will save you some disappointment, trust me 🙂 You may also want to check the consistency after drying; silicone is very gummy / rubber-like when dried; the cream I used just gets really hard which is okay if you don’t want to carry it around with you. Please keep this in mind before you start because that would’ve saved me a lot of time in the beginning T_T (Used cream which got extremely hard on a mobile phone and of course it just crumbled away..)

However, there was no need to worry since the cream I used this time took extremely long to dry. I had to let my case dry for about 3 days because it was still very mushy. (Actually I had some fear it wouldn’t dry at all because it took so long.. xD )
Final Step #3 I don’t have any pictures from the work progress because I didn’t know how fast the cream would dry and hurried therefore. The only thing I do is pushing the charms gently into the cream (it’s important to push them deep enough so that they won’t fall off!). If you have very big charms or charms with weird surfaces / forms I’d highly recommend to use some superglue before sticking the stuff into the cream.
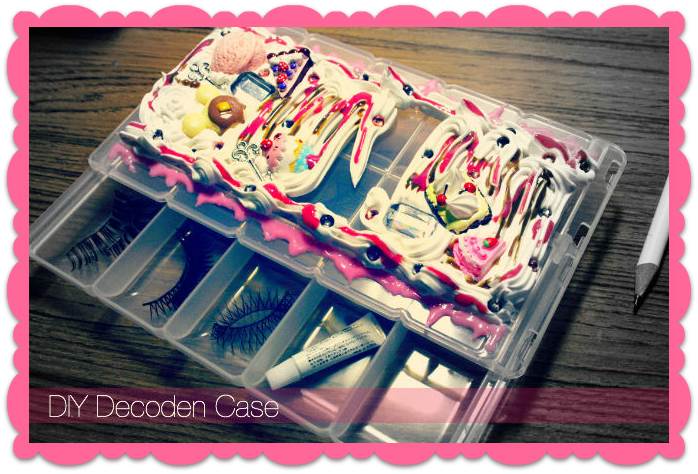
I usually go for this order when decorating: Biggest charms – smaller charms – rhinestones 1st color – rhinestones 2nd color etc. I use the deco sauce last. When placing the biggest charms first you get the best idea of how much space you really have, sometimes I overrate my own space and it is easier to get a balanced result in the end. If you are unsure on where to place what you could arrange it first on the plain case, take a picture of it and start then. I did this when decorating my mother’s phone because I was so afraid to mess it up! I also recommend to place most charms crooked / diagonal and not straight into the cream!! It looks very odd when every charm is placed straight next to each other, I like to “frame” the charms with crooked rhinestones etc.! Just keep in mind what your original idea was and it should be fine! 🙂 This is how my case turned out in the end:

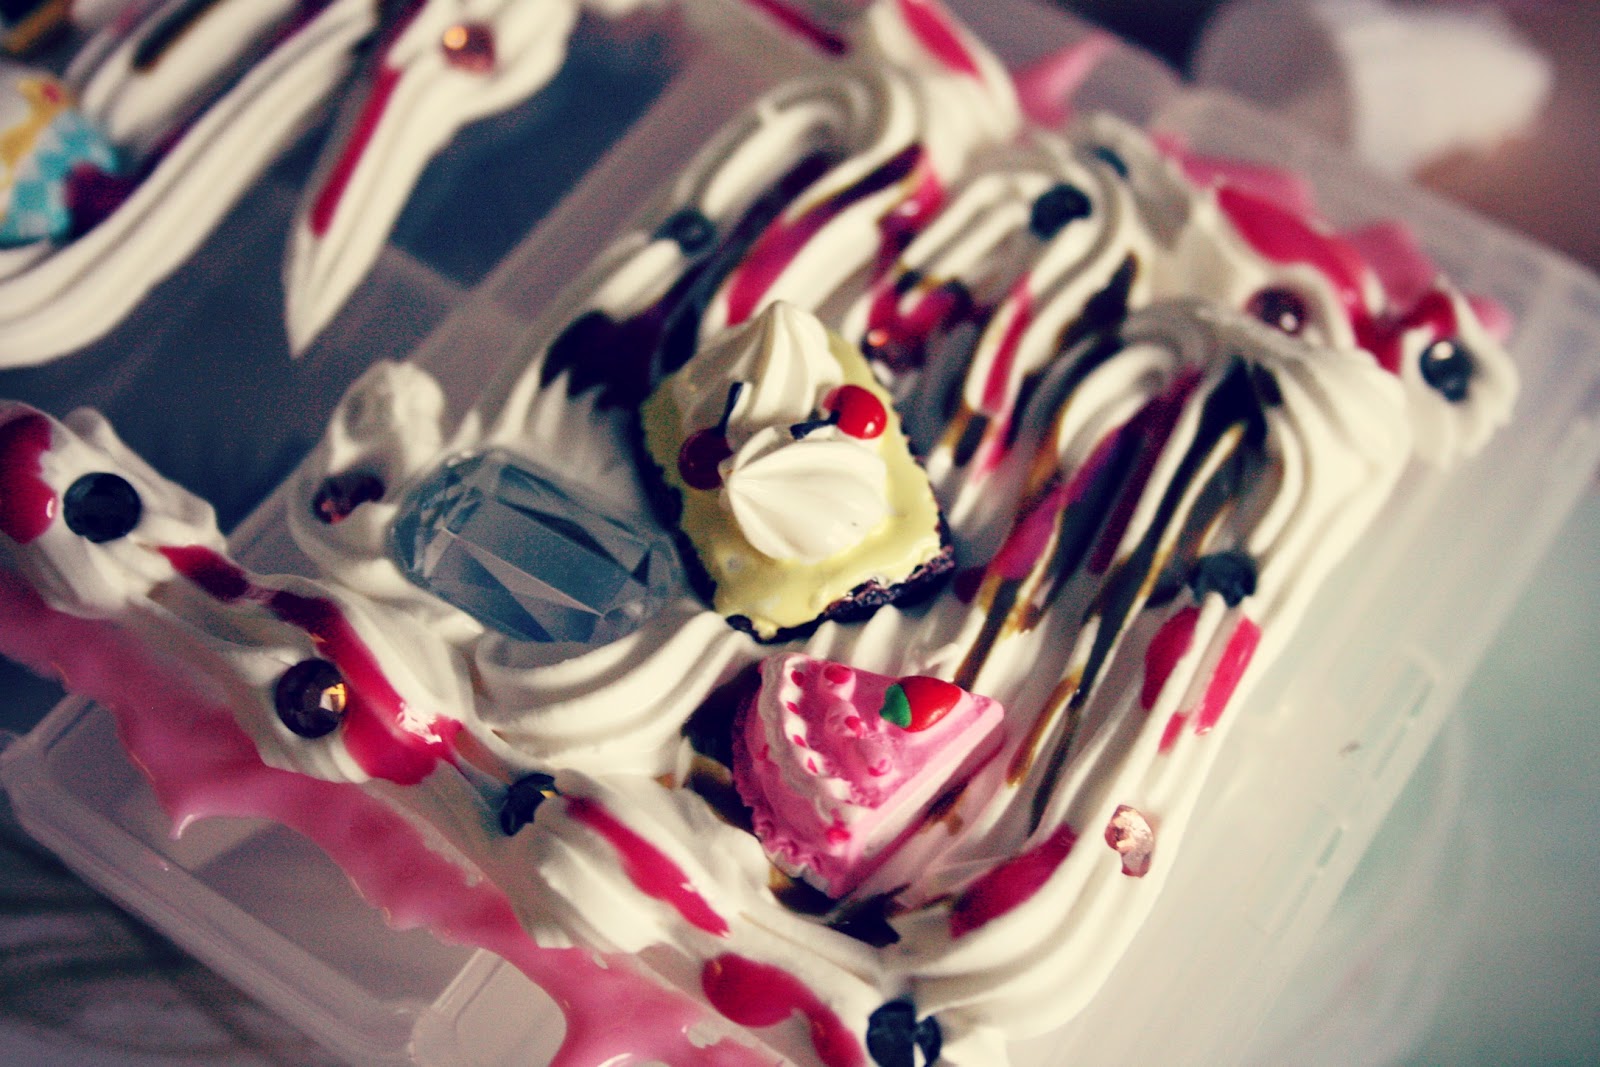

..what do you think? 🙂 (I love the fact the case is slideable! Was so surprised to find out when I was home, didn’t read description as always xD ) I hope you liked this tutorial and found it useful! The decorating itself isn’t very difficult, the tricky part is to get the right materials like the right kind of whipped cream, glue etc. If you have any further questions please feel free to ask me. Oh and as soon as I am home I thought about doing something similar as a video tutorial so that you can actually see the working progress of placing the charms etc.! If anybody would be interested in that, I don’t know? Let me know! :3
I have a lot of things coming up this weekend; a workshop on how to wear traditional Yukata and how to do the Bon-odori (dance for the Bon-Festival in Japan), a huge and important test (Japanese Language Proficiency Test) about my skills in Japanese on Sunday, a lot of Yosakoi training on Monday and my birthday on Tuesday, sooo I guess I might not post anything until next week! Will stay connected via Twitter or FB though! ^__^ Have a nice week everybody!
Until next time,
– Sam.